Why Does a Green Ring Appear Around the Yolk in Hard-Boiled Eggs? Here’s What It Really Means
Ever peeled a hard-boiled egg, sliced it open, and BOOM – hit with that weird, greenish ring circling the bright yellow yolk? Yeah, we’ve all been there. It can look a bit… off, right? Especially when you’re gunning for that perfect, vibrant golden center for your salad or a quick snack. Most folks instantly wonder if they messed up, or worse, if the eggs are still good to eat. Well, here’s the good news: this super common sight has a dead-simple explanation rooted in basic kitchen science, and nope, it absolutely doesn’t mean your egg is spoiled. But what the heck actually triggers this color change, and more importantly, how can you stop it next time? Stick around, because the real story behind that green ring might just blow your mind, and by the end, you’ll have the killer steps to get those picture-perfect boiled eggs every single time, no excuses!
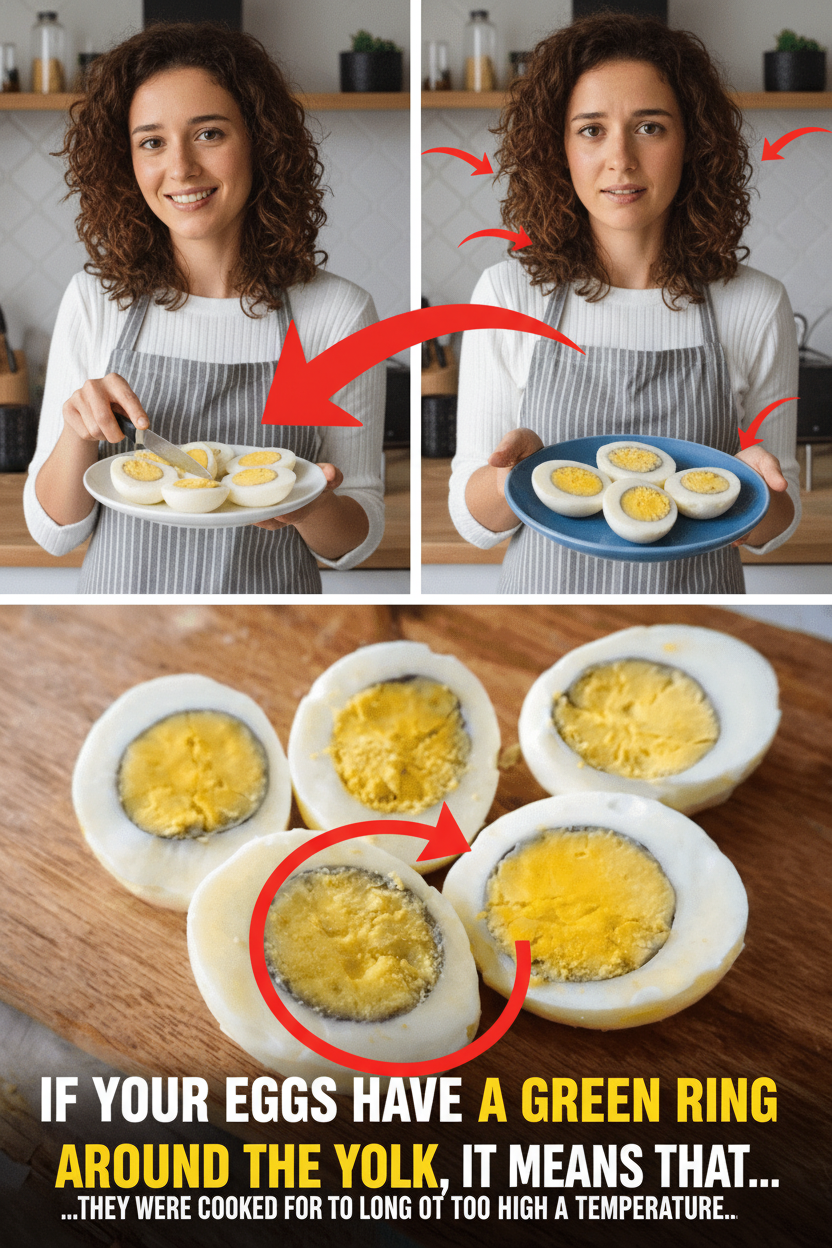
What Causes the Green Ring Around Hard-Boiled Egg Yolks?
So, what’s the deal with that funky green or grayish halo? It’s not alien goo, folks, it’s straight-up natural chemical warfare happening inside your egg while it cooks. Research from food science gurus, including insights from heavy hitters like the University of Illinois and the USDA, spills the tea: it’s the result of sulfur compounds chilling in the egg white reacting with the iron hiding in the yolk. When eggs cook for too long, or at scorching hot temperatures, the proteins in the white start to break down and release hydrogen sulfide gas. This gassy villain then hooks up with the iron right at the yolk’s surface, creating ferrous sulfide — that’s the compound responsible for that unmistakable greenish tint. Studies on egg cooking chemistry confirm this happens way more often with overcooking, high heat, or even slightly older eggs where the reaction gets a head start. The ring appears right at the boundary between the white and yolk, and while it might not win any beauty contests, it doesn’t mess with safety or basic nutrition one bit.
Is It Safe to Eat Hard-Boiled Eggs with a Green Ring?
Alright, let’s get one thing straight, right off the bat: That green ring? Totally safe to chow down on! Food safety bigwigs like the USDA and top-tier food technology experts all agree – the color change is purely cosmetic. The very same reaction also pumps out a faint sulfur smell in overcooked eggs, but don’t you dare mistake that for bacterial growth or spoilage. Seriously, countless home cooks have been enjoying these eggs for years without a single hiccup. And get this: the nutritional value — we’re talking protein, essential vitamins like B12 and D, and those healthy fats — remains completely intact. So, no need to toss ’em in the trash; they’re still a powerhouse, healthy choice for any meal. Don’t let a little green scare you!
Why Overcooking Leads to the Green Ring (And Other Factors)
Look, overcooking is the grand poobah, the main villain behind that green ring. But hold up, a few other sneaky culprits can crash the party and speed things up:
- Too much time in the hot tub: Leaving ’em in hot water beyond the needed time just lets the heat keep cooking the egg, supercharging that chemical reaction.
- Cranking up the heat: Vigorous, rolling boils push the process way faster than a gentle, chill simmer. Think of it as a pressure cooker for sulfur and iron!
- Egg freshness: Fresher eggs sometimes show less reaction, but honestly, overcooking will override that every single time.
- Water quality: Rarely, if your tap water is loaded with iron, it can contribute a tiny bit, but it’s usually not the main player.
Food scientists note that this reaction accelerates like crazy above certain temperatures, making quick cooling the absolute key to slamming the brakes on it.
How to Prevent the Green Ring: Step-by-Step Guide
Tired of those sad, greenish yolks? Wanna nail that perfect, vibrant yellow center every single time? Listen up, because getting consistent, bright yellow yolks is easier than you think. Follow these simple steps for perfect hard-boiled eggs, every single time. No more excuses!
- Start with room-temperature eggs if you can – they cook more evenly and are just easier to deal with.
- Pop your eggs in a single layer in a pot. Drown ’em in cold water, about an inch over the top.
- Crank the heat to medium-high. We’re talking a full, rolling boil here, folks!
- Once it’s bubbling like crazy, yank that pot off the heat, slap a lid on it, and let those eggs chill out for 9-12 minutes (adjust based on egg size: 9 for medium, 10-11 for large, 12 for extra-large).
- While they’re chilling, prep an ice bath. Get a bowl, fill it with ice, then cold water. Seriously, don’t skip this critical step!
- Time’s up? Immediately dump those eggs into the ice bath for at least 5 minutes. This stops the cooking dead in its tracks.
- Peel ’em under cool running water. Trust us, it makes life infinitely easier and those shells practically slide off.
This foolproof method minimizes carryover cooking and stops that sulfur-iron reaction before it even thinks about starting. But wait, there’s more to this egg-cellent adventure!
Quick Comparison: Common Boiling Methods vs. The Foolproof Way
| Method | Time After Boil | Ice Bath? | Green Ring Risk | Yolk Texture |
|---|---|---|---|---|
| Constant rolling boil | 12-15 minutes | No | High | Dry, chalky |
| Boil then simmer | 10-12 minutes | No | Medium | Sometimes rubbery |
| Off-heat covered method | 9-12 minutes | Yes | Low to none | Creamy, bright |
The off-heat method with rapid cooling is the undisputed champion for both killer appearance and dreamy texture. But that’s not all, folks! Here are more tips to truly level up your egg game:
- For peeling that’s smooth as silk, grab eggs that are about 1-2 weeks old. Super fresh eggs are a notorious pain to peel!
- A pinch of salt or a splash of vinegar in the water can help with peeling, but don’t count on it to stop the green monster from appearing.
- Peeled ’em all? Store ’em in an airtight container in the fridge for up to a week. Perfect for grab-and-go snacks!
- For meal prep legends: boil a batch using our ice bath method and you’ve got healthy, delicious protein for the whole week. You’re welcome!
The Bottom Line (No More Green Eggs, Promise!)
So there you have it, the unvarnished truth about that green ring in your hard-boiled eggs. It’s just a harmless chemical reaction, not a sign of spoilage, and now you’re armed with the insider knowledge to banish it forever. Say goodbye to those dull, greenish yolks and hello to perfect, vibrant golden centers every single time! With these simple tricks, you’ll be cranking out flawless hard-boiled eggs that look as good as they taste. Go forth and conquer your kitchen!
We hope this deep dive helped you crack the code on perfect eggs. Don’t stop here – explore more of our awesome kitchen hacks and health tips right here on dogpjs.com. Keep cooking, keep learning, and keep thriving!