 By admin
 So, you’re tossing those chia seeds into your morning grind, right? Dreaming of a gut that runs smoother than silk, energy that won’t quit, and all those fancy omega-3 perks everyone’s been hyping up. But instead of feeling light as a feather and totally satisfied, what do you get? A clumpy, gunked-up disaster, bloating that makes you feel like a balloon, or a sad, watery excuse for a drink that does absolutely nothing.
The real kicker? These tiny powerhouses are supposed to gel beautifully and fuel your body like a champ. But one tiny soaking screw-up can turn them into a total dud. The good news, my friend, is that kicking these common errors to the curb is way easier than you think, and it can totally transform how your body reacts to chia. Seriously, keep your eyes glued to this page, because the fifth mistake? It’s silently robbing you of the very nutrients you’ve been counting on. You’ve been warned!
Listen Up! Why Getting Your Chia Seed Soaking Game ON Point Actually Matters
Look, chia seeds are packed to the gills with fiber, plant-based protein, healthy fats, and essential minerals. When you soak them right, they transform into a smooth, gentle gel that lets them expand safely and spill out all their amazing goodness. Research even screams that this process boosts your digestion by bulking up your stool and making you feel full. But mess up the soaking, and you’re inviting a world of texture disasters, gut-wrenching digestive discomfort, and flat-out missing out on the awesome benefits that make chia a superstar. Here’s the cold, hard truth most folks miss: how you soak chia seeds directly dictates if your body can even use them properly.
STOP THE MADNESS! The 5 Critical Screw-Ups You’re Making With Your Chia Seeds
1. You’re Freezing Your Chia Out! Why Cold Water is a Massive Fail
So many of us just grab that ice-cold water straight from the fridge, thinking it’s oh-so-refreshing. Big mistake! Those cold temperatures slam the brakes on the gel-forming process, big time. Your chia seeds take forever to soften up, and what do you get? Uneven hydration, leaving you with nasty hard centers inside your supposedly smooth gel. Smarty-pants nutrition experts will tell you: room-temperature or slightly warm liquid kicks that mucilage (that slimy, good-for-you outer coating) into high gear, faster and better. Cold water won’t kill your chia seeds, but it sure as hell makes the whole operation sluggish and guarantees that gritty, gross texture you absolutely despise. But wait, there’s a twist…
2. Your Timing is TRASH! You’re Screwing Up the Soaking Time
You’re either chugging that mix after a mere couple of minutes, or you’re letting it sit there for hours – or worse, overnight in the wrong spot. Both of these extremes are a recipe for disaster. Too short? Your chia seeds won’t fully expand, meaning they’ll blow up inside your gut later, potentially causing some serious discomfort. Leave it too long at room temp, and you’re playing with fire, risking slight fermentation that’ll make it taste funky and send your sensitive stomach into a tailspin. Listen up: research and top culinary experts say you need at least 10–15 minutes for basic hydration. For that dreamy chia pudding texture, give it 30 minutes to a few hours, or let it chill overnight in the fridge.
3. You’re Playing a Dangerous Game with Your Chia-to-Liquid Ratio
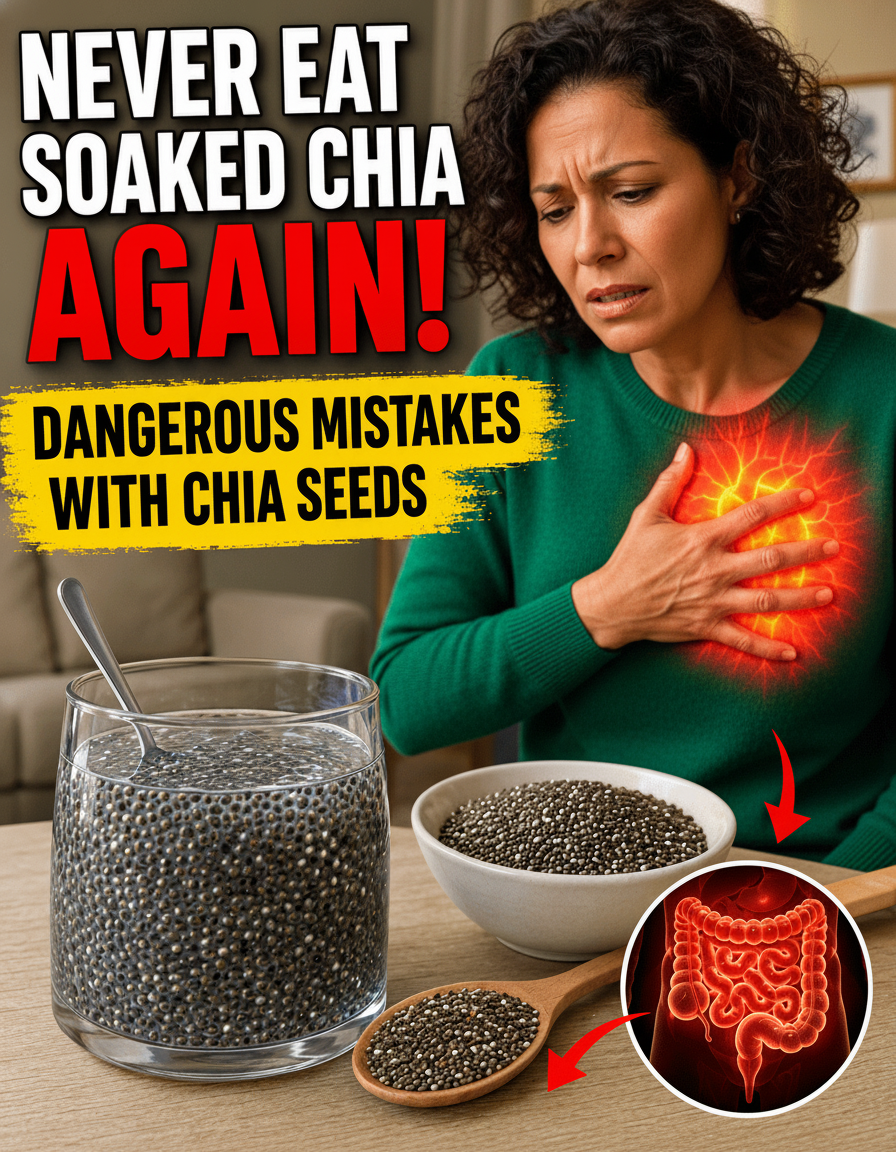
This right here is a surefire way to pull your hair out in frustration. Dump in too many chia seeds, and your concoction turns into a thick, gloopy paste that’s a nightmare to swallow. Skimp on the chia, and you’re stuck with a watery, sad excuse for a drink that never gels. The magic number, according to most pros, is about 1 tablespoon of chia seeds for every ¼ cup (around 60 ml) of liquid if you want that perfect pudding-like consistency. For a lighter chia water, 1–2 tablespoons per full cup does the trick. Nail this chia-to-liquid ratio, and you’ll get that silky, satisfying texture every single damn time.
4. You’re a Stir-Skipper! Why Your Chia Needs a Good Swirl
You just dump the chia seeds in, give it one lazy swirl, and peace out, right? Ten minutes later, BAM! You’ve got a gross clump cemented at the bottom and a pathetic thin layer of gel on top. Sound like your life? Chia seeds are notorious for sinking and sticking together if you leave them to their own devices. Stirring once right after you drop them in, and then again after a few minutes, is crucial. It busts up those nasty clusters and makes sure every single seed gets its fair share of liquid. It’s a tiny move, but it makes a colossal difference in achieving that smooth, perfect texture.
5. You’re Picking the WRONG Liquid or Storing Your Soaked Chia Like a Rookie
Listen up, because this is where many people mess up. Throwing in thick liquids like yogurt, coconut milk, or sugary juices too soon can literally coat your chia seeds, blocking them from forming that proper gel. And those sweet, sugary options? They can wreak havoc on your blood sugar in ways you absolutely do not want. But here’s the real sneaky killer: whipping up a massive batch and just letting it sit in your fridge for days on end. Once your chia seeds are soaked, they’re at their prime for peak freshness and nutrient quality within a measly 1–2 days. Any longer, and you’re just asking for trouble. Get ready, because here’s the bombshell that might just blow your mind…
Finally! How to Soak Chia Seeds Like a PRO: Your No-Nonsense, Step-by-Step Guide
Cut the crap and follow these simple steps, and you’ll nail perfect results every single time, guaranteed:
- Grab room-temperature or slightly warm liquid – plain water, unsweetened almond milk, or coconut water are your best bets. Don’t even think about cold!
- Measure like your life depends on it! Kick things off with 1 tablespoon of chia seeds to ¼ cup of liquid. No eyeballing, no guessing!
So there you have it, folks! No more excuses for sad, lumpy, or ineffective chia seeds. Master these simple tweaks, and you’ll unlock the true power of this superfood. Ready to dive deeper into boosting your health and wellness? Don’t stop here! Explore more game-changing tips and tricks on our site. Your journey to a healthier, happier you is just beginning, and we’re here to guide you every step of the way!