How to Build a 3-Level Barrel Grill from an Old Drum – Plants Life Mobile Menu – Main Menu Main Menu Home Gardening Health and Beauty Interesting Things Everyday Life Hacks Plants Life Plants Life, everything you need to know about plants Main Navigation Bar Home Gardening Health and Beauty Interesting Things Everyday Life Hacks Home Everyday Life Hacks How to Build a 3-Level Barrel Grill from an Old Drum How to Build a 3-Level Barrel Grill from an Old Drum 49 Views 404 0
Alright, listen up, grill masters and DIY enthusiasts! Wanna turn that rusty old metal barrel into a legit, three-level BBQ beast? This ain’t just a simple project; it’s your ticket to a massive cooking space and a seriously rustic outdoor cooking station that’ll make your neighbors jealous. Grab a few tools, some basic materials, and get ready to whip up a durable grill perfect for feeding the whole crew at your next family gathering. Let’s get down to business!
1. The Ultimate Three-Level Barrel BBQ Grill
When it comes to DIY barrel projects, nothing beats a 3-level BBQ grill. Seriously, this design isn’t just popular; it’s a game-changer. You get a huge cooking surface, meaning you can juggle different meats, veggies, and sides all at once. No more waiting around, just pure grilling glory!
What you need
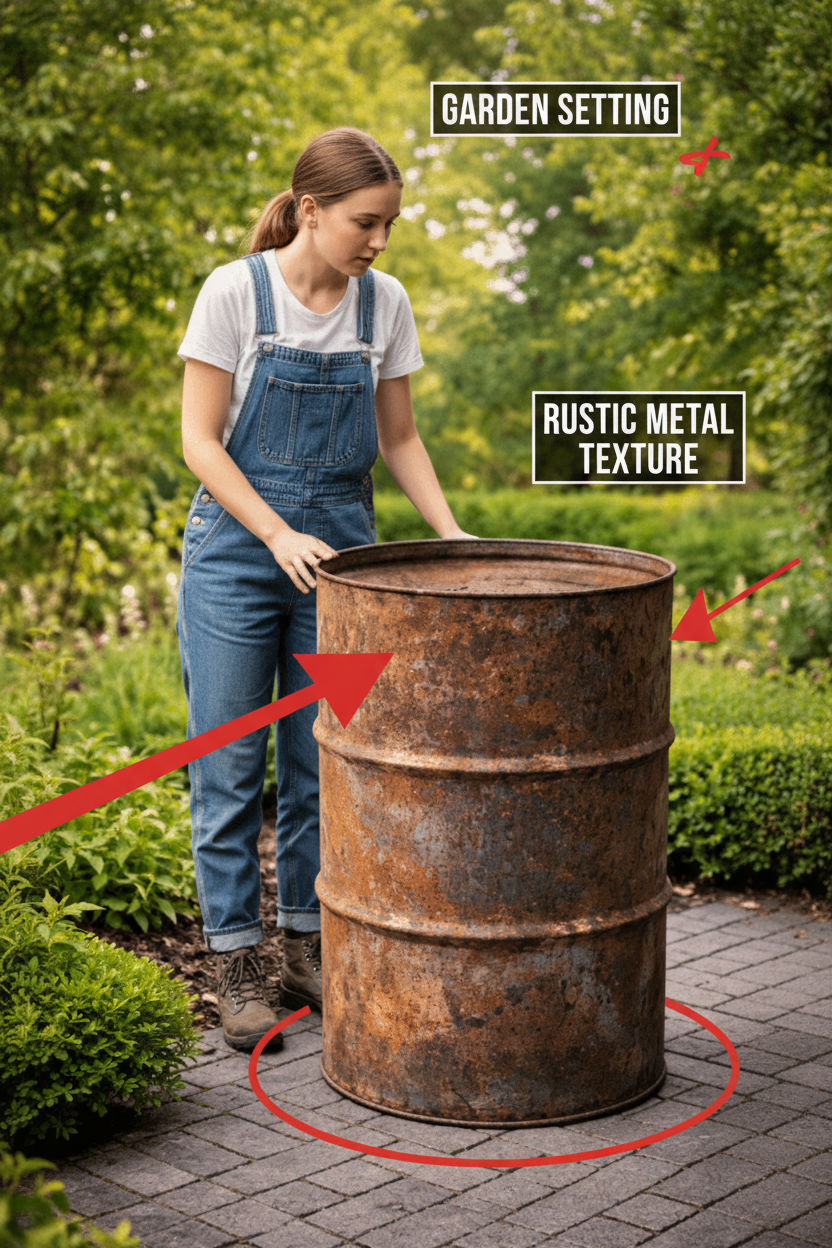
- 1 old metal barrel (the bigger, the better!)
- Angle grinder with cutting disc (your new best friend)
- 3 grill grates (gotta have ’em)
- Metal hinges (for those slick doors)
- Metal handles (easy access, baby!)
- Bolts and nuts (keep it tight)
- Metal brackets or supports (for those all-important levels)
- Heat-resistant BBQ paint (make it look sharp and last long)
- Safety gloves and goggles (don’t be a hero, be safe!)
How to build it
Step 1 – Clean the barrel
First things first: that barrel needs to be squeaky clean. If it’s been holding oil or any nasty chemicals, you better burn it out good or wash it like your life depends on it before you even think about cooking on it. Seriously, don’t mess around here.
Step 2 – Cut the doors
Grab that angle grinder and get ready to carve! You’re gonna cut three equally sized doors right on the front of that barrel. These bad boys are your access points to each glorious cooking level.
Step 3 – Install hinges and handles
Now, bolt those metal hinges onto your newly cut doors. Then, slap on some sturdy handles so you can swing ’em open with ease, even when the heat is on during your epic cookout.
Step 4 – Add the cooking levels
Time to get those levels in place! Secure metal brackets inside the barrel for each tier. Think of it like this:
- Top level – This is your main grill surface, where the magic happens.
- Middle level – Perfect for slow-cooking veggies or keeping things warm.
- Bottom level – This is where your charcoal or wood fire will roar.
Step 5 – Paint the barrel
Don’t just leave it bare! Slap on some heat-resistant BBQ paint on the outside of that barrel. It’ll protect the metal from rust and those scorching high temperatures, keeping your masterpiece looking good for years.
Step 6 – Add the top grill
Want even MORE cooking space? You got it! Plop a large round grill grate right on top of the barrel. Boom! Extra room for all your culinary conquests.
🔥 This isn’t just a grill; it’s a multi-tasking monster! You can throw on meat, veggies, ribs, burgers, and even corn, all at the same damn time. Get ready to feed an army!
2. Barrel Pizza Oven: Your Backyard Pizzeria Awaits!
Hold up! What if you’re craving authentic, wood-fired pizza right in your backyard? Another killer idea is transforming that barrel into a dedicated wood-fired pizza oven. This project creates a compact outdoor oven that hits insane temperatures, absolutely perfect for those crispy, gooey pizzas. Impress your friends, impress your family, impress yourself!
Materials
- Metal barrel (your soon-to-be oven)
- Angle grinder (still your best friend)
- Pizza stone or fire bricks (for that perfect crust)
- Metal chimney pipe (gotta let that smoke out!)
- Metal frame or stand (keep it stable)
How to build it
Step 1 – Cut the barrel
Slice that barrel horizontally to create your oven chamber. This is where the magic (and the heat!) will be contained.
Step 2 – Install the cooking surface
Lay down that pizza stone or those fire bricks inside the barrel. These aren’t just for show; they’re key to distributing that heat evenly for a perfectly cooked pizza every single time.
Step 3 – Add a chimney
Time for some ventilation! Install a small chimney pipe on the top or back of the barrel. This gives you control over airflow and smoke, crucial for that authentic wood-fired flavor.
Step 4 – Leave a front opening
Don’t forget the entrance! Cut a small opening at the front where you can easily slide those pizzas in and out. No fumbling around when hunger strikes!
🔥 This isn’t your average kitchen oven; this bad boy can crank up to a scorching 350–450°C (660–840°F)! That’s the secret to getting that perfect, crispy, authentic wood-fired pizza crust you’ve been dreaming of.
3. Simple Vertical Barrel Grill: Quick & Dirty Grilling
Okay, maybe you’re not looking for a full-blown multi-level monster or a pizza palace. You just want to grill, and you want it NOW. If you want something easier and faster, you can totally whip up a simple vertical barrel grill. No fuss, just fire!
What you need
- Metal barrel (duh!)
- Grill grate (the essential part)
- Charcoal tray (to hold the heat)
- Drill (for those crucial air holes)
- Metal handles (for moving your creation)
Steps
-
Cut the top of the barrel
Remove the top lid. This is your main cooking opening. Simple as that.
-
Add the grill grate
Slap that grill grate in there, about 15–20 cm (6–8 inches) above your charcoal. That’s your sweet spot for grilling.
-
Add air holes
Grab your drill and punch some small holes near the bottom of the barrel. These are vital for airflow, keeping your fire burning hot and strong.
-
Add handles
Bolt on some handles so you can easily move your new, no-frills grill wherever the party takes you.
🔥 This version is ridiculously quick to build and absolutely perfect for cranking out burgers, steaks, sausages, or veggies in a flash. Get grilling, pronto!
Tips for Using Your Barrel Grills Like a Pro
You’ve built it, now use it right! Here are some pro tips to get the most out of your barrel grill:
- ✔ Flavor Bomb: Always go for hardwood charcoal. Trust us, it makes a world of difference in flavor.
- ✔ Keep the Air Flowing: Leave those bottom vents slightly open. Your fire needs to breathe to stay lit and hot!
- ✔ Clean Freak: Don’t be lazy! Clean that grill after every single use. It’ll last longer and taste better next time.
- ✔ Safety First, Always: Only cook outdoors and always in a safe, open area. No indoor grilling, folks!
⚠️ Safety Precautions: Don’t Be a Dummy!
Alright, this is serious. While we love a good DIY project, safety is non-negotiable. Pay attention:
- ⚠️ Barrel History Matters: ALWAYS, and we mean ALWAYS, confirm that your barrel was NOT used for toxic chemicals. This is not a drill!
- ⚠️ Clean and Burn: Before you even think about cooking, clean and burn out that barrel thoroughly. Better safe than sorry when it comes to fumes.
- ⚠️ Gear Up: When you’re cutting metal, wear those gloves and safety goggles. Sparks fly, and nobody wants a trip to the ER.
- ⚠️ Paint Smart: Only use heat-resistant paint on the OUTSIDE of the barrel. You don’t want toxic fumes getting into your food.
- ⚠️ Stable & Clear: Keep your grill on a stable, fire-safe surface and far, far away from anything flammable. Common sense, right?
✔ Safety first when working with metal and fire. Seriously, don’t cut corners here. DIY projects like these aren’t just about saving a few bucks; they’re about creating unique, custom outdoor cooking equipment that you and your buddies can brag about and enjoy for years to come. Get out there and make some grilling memories!
That’s it, folks! You’re now armed with the knowledge to build your own backyard cooking legend. We hope this guide fired you up! Don’t stop here – keep exploring Plants Life for more awesome DIY hacks, gardening tips, health secrets, and fascinating reads to make your everyday life even better!
Post Views: 49 Facebook Adela Rus Adela Rus Posts Navigation Garlic Peels: Benefits and How to Use Them in the Garden Honey Locust Pods: Uses, Benefits, and the Hidden Sweetness of a Wild Tree No Comments Leave a Reply Cancel Reply Your email address will not be published. Required fields are marked * Comment Name * Email * Website Save my name, email, and website in this browser for the next time I comment. Wide Sidebar Search Recent Posts 🥔 How to Grow More Potatoes by Cutting Them Into Pieces 🍓 How to Grow Strawberries from Seeds at Home (Step-by-Step Guide) 🌱 Grow Your Own Garden Using Laundry Baskets (