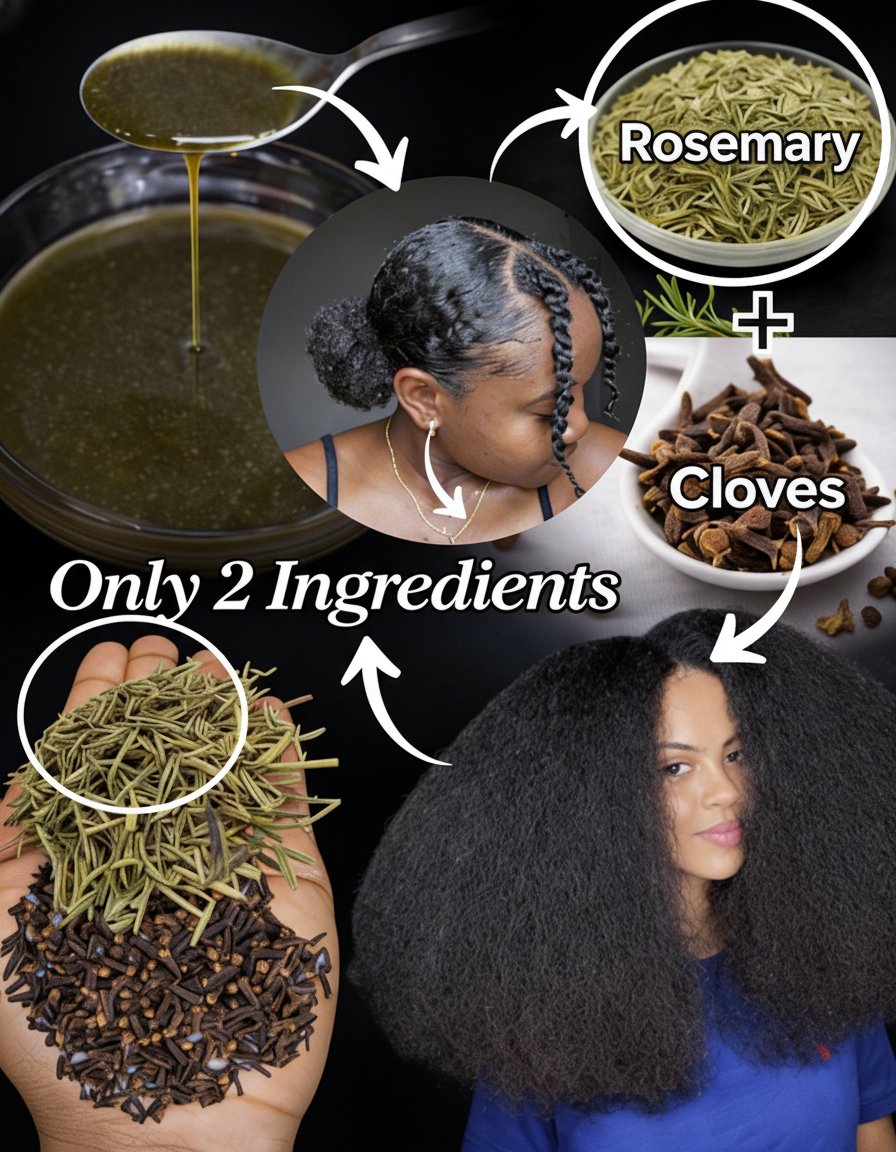
Nourish Your Tresses Naturally: The DIY Guide to Cloves and Rosemary Hair Oil
Many individuals encounter changes in their hair health over time, such as noticeable thinning or increased shedding. These shifts can be disheartening, often impacting daily confidence. While countless commercial products promise solutions, sometimes the most effective remedies are found in simple, natural ingredients right in your kitchen. Imagine crafting an easy-to-make, potent oil blend that could revitalize your hair care routine. There’s a crucial insight at the end of this guide that many tend to overlook, so make sure to read on!
Understanding Hair Changes and Natural Solutions
While some degree of hair shedding is a natural part of the hair cycle, an increase can often signal underlying factors like stress, nutritional deficiencies, or hormonal fluctuations. Genetic predispositions also play a significant role. According to the American Academy of Dermatology, over 80 million Americans experience hereditary hair thinning, affecting approximately 40% of women by age 40 and more than 50% of men by the same age. Beyond genetics, external elements like environmental pollution and frequent heat styling can diminish hair’s natural vibrancy over time.
In the quest for healthier hair, research increasingly highlights the benefits of natural ingredients for scalp care. For instance, studies suggest that rosemary can support improved blood circulation to the scalp, a key factor in follicle health, while cloves are recognized for their rich antioxidant properties.
The Synergistic Power of Cloves and Rosemary
Cloves are rich in eugenol, a powerful antioxidant compound that research indicates may help soothe scalp discomfort by reducing minor irritations. This active ingredient also contributes to overall scalp health through its natural antimicrobial qualities. Rosemary, on the other hand, has been extensively studied for its potential to stimulate blood flow to the scalp, which is crucial for delivering nutrients to hair follicles.
A notable 2015 randomized clinical trial published in SKINmed demonstrated that topical application of rosemary oil exhibited effects comparable to 2% minoxidil in increasing hair count over a six-month period, with participants also reporting less scalp itching. When these two remarkable herbs are combined, they create a harmonious blend that deeply nourishes the scalp and hair without leaving a heavy or greasy residue. The chosen carrier oil, such as olive or jojoba, further enhances this blend by delivering essential moisture and nutrients. Users frequently report subtle yet noticeable improvements, with many finding their hair care routine feels more invigorating and effective.
Real Experiences from Everyday Users
Many individuals have integrated this natural oil into their routines and observed positive changes. Consider the experience of a 42-year-old user who noticed her hair feeling thinner due to stress. After consistently incorporating a simple homemade oil routine, she reported a calmer scalp within three weeks. By the second month, she observed significantly less hair accumulating in her brush, and by the fourth month, friends began commenting on the improved appearance of her hair. These anecdotal accounts align with scientific understanding, as studies on clove extracts reveal anti-inflammatory effects, while rosemary research supports heightened hair follicle activity. While individual results may vary, such stories provide encouraging evidence for exploring natural remedies.
Essential Ingredients for Your Homemade Hair Oil
Gather these readily available and cost-effective items to create your nourishing hair oil:
- ½ cup dried rosemary leaves (or ¾ cup fresh rosemary)
- ¼ to ⅓ cup whole dried cloves
- 2 cups carrier oil (e.g., extra-virgin olive oil or jojoba oil, known for their moisturizing and scalp-friendly properties)
- Optional additions:
- 2-3 tablespoons fenugreek seeds: Can provide additional hair-strengthening benefits.
- 10 drops vitamin E oil: Acts as a natural preservative, extending the oil’s shelf life.
These fundamental ingredients ensure a simple, yet effective, and budget-friendly hair care solution.
Step-by-Step Guide to Crafting Your Hair Oil
For optimal infusion and potency, follow this double-boiler method:
- Prepare the Herbs: Lightly crush the dried cloves and rosemary leaves using a mortar and pestle. This step helps release their beneficial essential oils and compounds.
- Combine Ingredients: Place the crushed herbs into a heat-safe glass jar. Pour your chosen carrier oil over the herbs, ensuring they are fully submerged.
- Gentle Infusion: Set the glass jar into a pot containing simmering water (creating a double boiler setup). Gently heat the mixture for 45-60 minutes, stirring occasionally. This slow heating process allows the herbs to infuse their properties into the oil without burning.
- Cool and Steep: Remove the jar from the heat and allow it to cool slightly. Cover the jar and place it in a dark, cool spot to infuse further for 2-4 weeks. Remember to shake the jar daily to encourage maximum extraction.
- Strain and Bottle: After the infusion period, strain the oil through a fine-mesh sieve or cheesecloth into a clean, dark glass bottle. If desired, add the vitamin E oil at this stage.
- Storage: Store the finished oil in a cool, dark place. Properly stored, it can last for 6-12 months.
For a quicker version: Extend the gentle heating step to 2-3 hours instead of 45-60 minutes, then proceed with straining. However, the longer infusion period typically yields a more potent oil.
Pro Tip: Gently warm the oil before each use. This can enhance its absorption into the scalp and hair strands, maximizing its benefits.
Effective Application for Maximum Benefits
Consistent and proper application is key to experiencing the full advantages of your homemade hair oil:
- Frequency: Begin with 3-4 applications per week, especially if your scalp is sensitive. Gradually increase to daily use as your scalp adjusts.
- Application Method: Section your hair to expose the scalp. Apply 1-2 tablespoons of the oil directly to your scalp, distributing it evenly.
- Massage: Gently massage the oil into your scalp using circular motions for 5-10 minutes. This stimulates blood flow and aids absorption.
- Leave-in Time: Allow the oil to penetrate for at least 2 hours. For deeper conditioning, you can leave it on overnight, covering your hair with a shower cap to protect your pillow.
- Washing Out: Wash your hair with a gentle, sulfate-free shampoo, followed by your regular conditioner.
- For Protective Styles: If you wear braids, twists, or other protective styles, apply the oil to your exposed scalp 2-3 times weekly to maintain scalp health and moisture.
Remember, consistency is paramount. Consider tracking your progress with photos to observe gradual changes over time.
Potential Benefits of Regular Use
With consistent application, users often report experiencing a range of subtle yet significant improvements:
- Soothed Scalp: The eugenol in cloves can contribute to a calmer and more comfortable scalp feel.
- Enhanced Circulation: Rosemary’s properties are believed to support improved blood flow to hair follicles, promoting a healthier growth environment.
- Reduced Hair Fall: Regular nourishment from the oil can help minimize daily hair shedding.
- Moisturized Strands: The carrier oil deeply hydrates hair without leaving it feeling heavy or greasy.
- Support for Growth Phases: Users often notice a more active feel in their hair’s growth cycle.
- Improved Texture: Enhanced nutrient support can lead to a perceptibly thicker and stronger hair texture.
- Activated Edges: Targeted application can help stimulate growth in delicate hairline areas.
- Minor Scalp Issue Protection: The antimicrobial qualities of cloves can offer protection against common minor scalp irritations.
- Fuller Appearance: Over time, the hair may appear visibly fuller and more voluminous.
- Increased Luster: Regular conditioning can impart a natural, healthy shine to your hair.