Unleash Your Inner Grill Master: Transform an Old Barrel into a Badass 3-Level BBQ Beast!
Tired of those flimsy, store-bought grills that just can’t handle the heat? Listen up! We’re about to show you how to take a beat-up old metal barrel and transform it into a monster 3-level BBQ grill. This ain’t just a simple DIY project; it’s your ticket to a massive cooking arena, a rugged outdoor station that screams ‘serious grilling.’ Grab your tools, round up some basic materials, and get ready to forge a durable grill that’ll be the undisputed king of every family gathering. Forget average, aim for legendary!
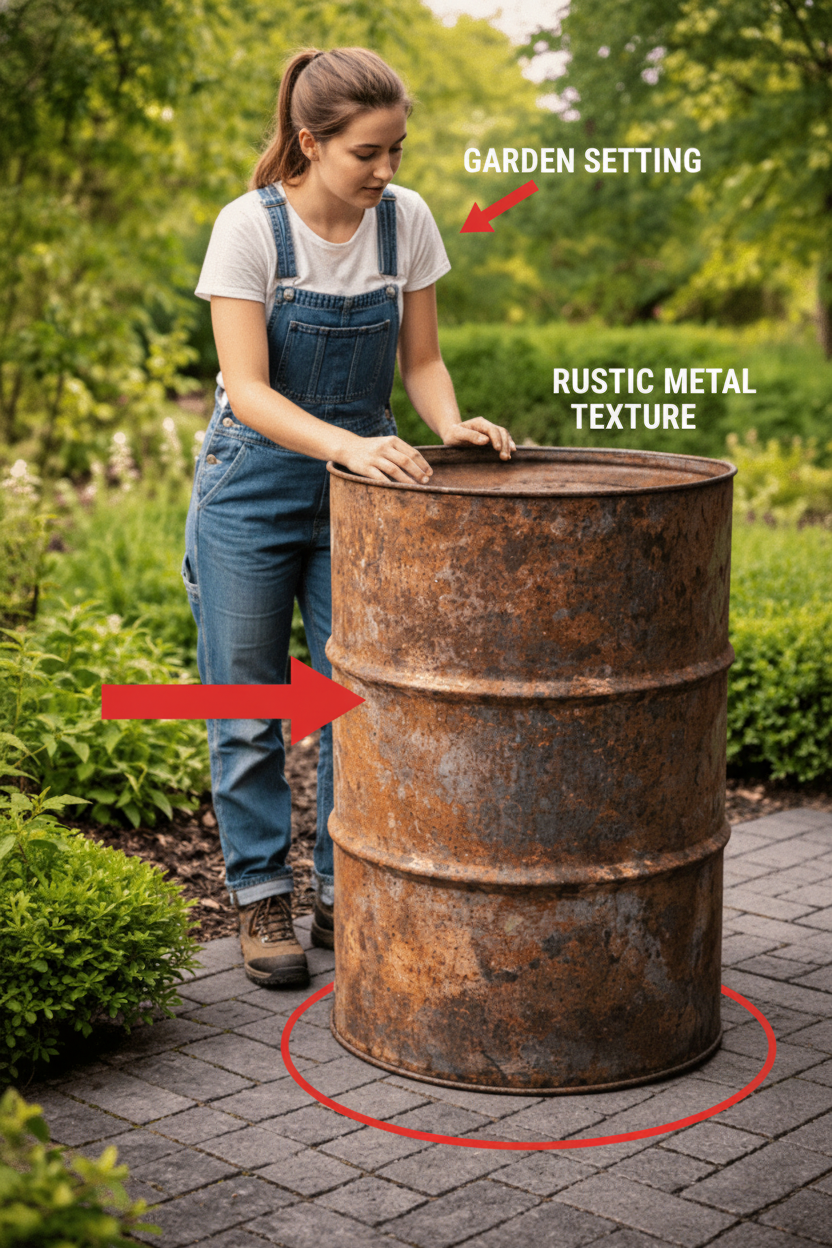
1. The Legendary 3-Level Barrel BBQ Grill
First up, let’s talk about the undisputed champion: the 3-Level Barrel BBQ Grill. This isn’t just popular; it’s a legendary move in the DIY barrel game. Why settle for less when this design hands you a sprawling cooking surface, letting you juggle different foods simultaneously? Imagine ribs smoking on one level, burgers searing on another, and veggies getting their char on the third. Pure genius!
What You Need:
- 1 old metal barrel
- Angle grinder with cutting disc
- 3 grill grates
- Metal hinges
- Metal handles
- Bolts and nuts
- Metal brackets or supports
- Heat-resistant BBQ paint
- Safety gloves and goggles
How to Build It:
- Step 1 – Clean That Barrel! Make sure that barrel is completely clean. If it previously contained oil or chemicals, you must burn it out or wash it thoroughly before even thinking about using it. No shortcuts here, safety first!
- Step 2 – Cut the Doors: Time to get surgical! Using an angle grinder, carve out three equally fierce doors on the front of the barrel. These aren’t just openings; they’re your gateways to each cooking dominion.
- Step 3 – Install Hinges and Handles: Hinges and handles – make ’em sturdy! Attach those metal hinges to the doors and slap on some robust handles so they can be opened easily when the heat is on.
- Step 4 – Add the Cooking Levels: Now for the magic! Install those metal brackets inside the barrel for each level: the Top level for the main grill surface, the Middle level for vegetables or slow cooking perfection, and the Bottom level for the roaring charcoal or wood fire. Each level, a culinary battlefield!
- Step 5 – Paint the Barrel: Protect your beast! Slather the outside of the barrel with heat-resistant BBQ paint. This isn’t just for looks; it’s your armor against rust and scorching temperatures. Make it look mean!
- Step 6 – Add the Top Grill: The crown jewel! Pop a large round grill grate right on top of the barrel for instant extra cooking real estate. Boom! You’ll be cooking like a pro, churning out feasts for the masses.
🔥 This isn’t just a grill; it’s a multi-tasking marvel! Picture this: perfectly grilled meat, tender veggies, fall-off-the-bone ribs, juicy burgers, and even sweet corn—all sizzling simultaneously. Get ready to feed an army!
2. The Backyard Barrel Pizza Oven
But wait, there’s more! What if I told you that same barrel could birth an authentic Wood-Fired Pizza Oven? Forget delivery! This project crafts a compact, outdoor inferno, hitting those insane temperatures that transform dough into crispy, bubbling pizza perfection. Get ready to become the neighborhood’s go-to pizza guru!
Materials:
- Metal barrel
- Angle grinder
- Pizza stone or fire bricks
- Metal chimney pipe
- Metal frame or stand
How to Build It:
- Step 1 – Cut the Barrel: Slice that barrel horizontally to create your oven chamber. This isn’t just a cut; it’s the birth of your pizza-making empire. Precision matters, chef!
- Step 2 – Install the Cooking Surface: Lay down the foundation! Get that pizza stone or fire bricks snug inside the barrel. These aren’t just rocks; they’re the secret to that perfectly even, intense heat distribution. No cold spots allowed!
- Step 3 – Add a Chimney: Give it a voice! Install a small chimney pipe on the top or back of the barrel. This is your smoke whisperer, controlling airflow and ensuring that perfect wood-fired flavor.
- Step 4 – Leave a Front Opening: The grand entrance! Carve out a small front opening where you can insert and remove pizzas. This is where your masterpieces will slide in and out, hot and ready to devour!
🔥 Prepare for glory! This bad boy can hit a scorching 350–450°C (660–840°F), delivering that authentic, crispy, wood-fired pizza experience right in your backyard. Your taste buds won’t know what hit ’em!
3. The Quick-Fire Vertical Barrel Grill
Now, if you’re looking for a quick win, a speed demon of a DIY, then the Simple Vertical Barrel Grill is your jam. It’s fast, it’s furious, and it gets the job done without breaking a sweat. No excuses now!
What You Need:
- Metal barrel
- Grill grate
- Charcoal tray
- Drill
- Metal handles
Steps:
- Cut the Top of the Barrel: Top it off! Remove the top lid to create your main cooking portal. Easy peasy, right?
- Add the Grill Grate: Get grilling! Install a grill grate about 15–20 cm (6-8 inches) above the charcoal. This is where the magic happens.
- Add Air Holes: Breathe life into it! Drill small holes near the bottom of the barrel to allow airflow for the fire. These aren’t just holes; they’re the lungs of your fire, ensuring perfect airflow for a raging inferno.
- Add Handles: Handle with care! Attach those handles so the grill can be moved easily. You want to move this beast around with ease, not wrestle it.
🔥 This version is the ultimate quick-build warrior! Perfect for slamming out burgers, sizzling steaks, juicy sausages, or char-grilled veggies in record time. Get cooking, NOW!
Tips for Mastering Your Barrel Grill
Alright, you’ve built your beast. Now, let’s talk about mastering the flames with these pro tips:
- ✔ Flavor Bomb: Always use hardwood charcoal for better flavor. It’s not just fuel; it’s the secret sauce for flavor that’ll make ’em beg for more.
- ✔ Breathe Easy: Keep the bottom vents slightly open for optimal airflow. Your fire needs to breathe, or it’ll choke. Good airflow equals consistent heat!
- ✔ Clean Freak: After every epic cookout, clean that grill! Don’t let grime ruin your next feast. A clean grill is a happy grill.
- ✔ Outdoor Only: This isn’t an indoor toy. Always, and we mean always, cook outdoors in a safe, open area. No exceptions!
CRITICAL SAFETY WARNINGS!
HOLD UP! Before you even think about firing up your new creation, listen to these CRITICAL SAFETY WARNINGS. We’re talking about fire and metal, people. Don’t be a rookie!
- ⚠️ Barrel’s Past: Seriously, make sure the barrel was *never* used for toxic chemicals. If there’s even a shred of doubt, find another barrel! Your health is NOT a game.
- ⚠️ Clean & Burn: After cleaning, *always* burn out the barrel completely before using it for cooking. It’s a non-negotiable step to purge any hidden nasties.
- ⚠️ Gear Up: When you’re cutting metal, you *will* wear gloves and safety goggles. No excuses. Protect your eyes and hands, you only get one set!
- ⚠️ Paint Smart: Use heat-resistant paint *only* on the outside of the barrel. You don’t want toxic fumes mixing with your food.
- ⚠️ Stable Ground: Keep the grill on a stable, fire-safe surface, miles away from anything flammable. Think common sense, not arson!
- ✔ Bottom Line: When you’re playing with metal and fire, safety isn’t just a suggestion; it’s the only rule. Don’t mess around!
Look, these DIY projects aren’t just about saving a few bucks—though that’s a sweet bonus. They’re about building something with your own hands, forging a piece of unique, kick-ass outdoor cooking equipment that’ll serve up legendary meals and memories for years to come. So, what are you waiting for? Get out there and build your legacy!
Ready to tackle your next project or craving more epic life hacks? Don’t be a stranger! Dive deeper into Plants Life for more groundbreaking DIY guides, gardening secrets, health tips, and all the cool stuff you never knew you needed. Keep exploring, keep creating, and keep living your best life with us!